Managing permissions for your wedding team
Add users to your account, set their permissions, and manage who has access to help with your wedding planning.
Need help planning your wedding? You can add people to your account and give them access to help out. Here's how to add users, set their permissions, and remove them when you're done.
Adding someone to your account
- Go to Settings > Users and click "Invite new user"


- Enter their name, email, pick a role, and set permissions by checking/unchecking boxes
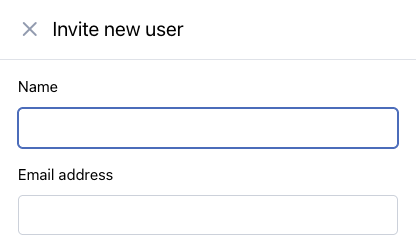
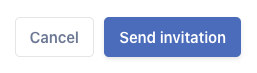
- Click Send invitation
They'll get an email invitation to create their account and access your wedding with the permissions you selected.
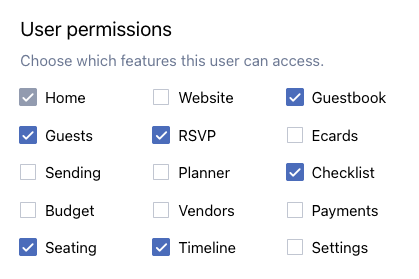
Setting permissions
When you invite someone, some permissions will be automatically selected. You can customize these before sending the invitation by checking or unchecking permission boxes.
You can give them access to any combination of features. Pick and choose exactly what makes sense for how they're helping you.
Common setups:
Your partner: Check all the boxes so you can plan together.
Wedding planner: Planning tools, guests, website, and RSVP access. They can help plan without having account ownership permissions.
Mom or family member: Guest list and RSVP access so they can help track who's coming.
Friend helping with design: Just website and design access.
Understanding roles
When you add someone, you pick a role:
- I'm getting married! - For you and your partner
- I'm a wedding planner - For professional wedding planners
- I'm helping out with the wedding - For family, friends, or anyone else helping
This is just a label that shows in the interface. It doesn't actually control what they can do.
The real control comes from the permission checkboxes. So you can have someone labeled as "I'm helping out with the wedding" but give them full planning access if you want.
Changing permissions
You can change an existing user's permissions anytime:
- Go to Settings > Users and click the user you want to update
- Check or uncheck permission boxes and click Save changes

The changes take effect right away. They'll see the new features (or stop seeing removed features) the next time they refresh.
Removing someone
When someone doesn't need access anymore:
- Go to Settings > Users and find the user you want to remove
- Click the "Remove user" button and confirm


They'll lose access immediately. Any work they did stays in your account, they just can't log in anymore.
Who can add and remove users?
Only the account owner and users with Settings permission can add or remove users and change permissions.
If you don't have Settings permission, you won't see the Users section in your settings.
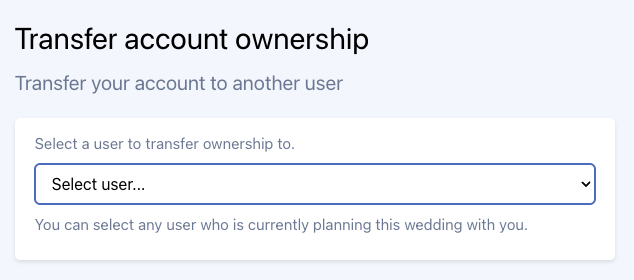
Transferring account ownership
The account owner can't be removed, but you can transfer account ownership to another user within your wedding account. This will make them the new owner and give them full control.
To transfer ownership:
- Go to Settings > Users and click "Transfer account ownership"

- Select the new owner and click "Complete transfer" to confirm

Tips for managing your team
Start with less access. It's easier to add more permissions later than to take them away.
Communicate clearly. Let people know what you're giving them access to and what you need them to help with.
Review regularly. Check your users list every so often and remove anyone who doesn't need access anymore.
Be careful with Settings permission. Users with Settings permission can add/remove other users and change account settings.
Need more info?
Check out our article on understanding user permissions to learn more about how permissions work and what each one controls.