Working with multiple languages
Create your wedding website in multiple languages so guests can read it in their preferred language (Pro plan only).
Got guests who speak different languages? With a Pro plan, you can create your wedding website in multiple languages so everyone can read it in the language they're most comfortable with.
What you need
Multiple languages are only available on the Pro plan. If you're on Basic or Standard and want this feature, you'll need to upgrade first.
How it works
When you add a new language, all your existing sections and pages are automatically duplicated and translated from your main language. This usually takes around 5 minutes.
After that initial setup, each language version is completely independent. There's no link between your main language and other language sections or pages. This means you can have totally different layouts and content for each language, which is quite common for multilingual weddings.
Adding a language
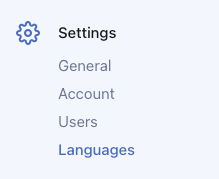
- Go to Settings > Languages
- Click "Add language" to add a new language
- Pick your language from the list
- Click Add language to confirm
Your site will automatically translate all existing content to the new language. You'll see it listed in your languages section once complete.
Languages are independent
This is important to understand: once a language is added, sections and pages are independent between languages.
What this means:
- Editing a section in English doesn't change the Spanish version
- You can have different sections on different language versions
- You can have completely different page layouts per language
- Deleting a section in one language doesn't affect other languages
Why it works this way:
Many couples want different information for different audiences. Maybe your Spanish-speaking guests need different travel details, or your French version has a different schedule. Independent sections make this possible.
Adding new content after setup
Any new sections or pages you create after adding a language only exist in the language you created them in. To have them appear in other languages:
- Create the section in your main language
- Duplicate the section to other languages (there's an option for this when editing)
- Edit each language version as needed (manually or using auto-translate)
Working with sections in different languages
Once you have multiple languages, here's what you can do with sections:
Duplicate to another language: When you create a new section in your main language, duplicate it to your other languages so it appears on all versions of your site.
Manually translate: Edit the section in each language and rewrite the content yourself. This gives you full control over the wording and tone.
Use Auto translate (beta): When editing a section in a non-primary language, click the Auto translate (beta) button to automatically translate the content from your main language. This is a great starting point that you can then refine.
Reorder sections: Each language can have its own section order. Reorder sections independently per language to create the best flow for each audience.
Add unique sections: You can add sections that only exist in certain languages. For example, add travel tips in English for international guests but skip it in the local language version.
Delete sections: Remove sections from one language without affecting other languages. Each version is fully independent.
Tips for translating content
We recommend always reviewing auto-translated content and rewriting it in your own words where possible. This makes your site feel more personal and ensures the tone matches your wedding style.
Translate in your own voice. Rather than literal translations, consider how you would naturally say something in each language.
Focus on key sections. Pay special attention to your welcome message, event details, and any heartfelt content.
Check with native speakers. If you're not fluent, have someone review your translations to make sure they sound natural.
Enabling language links in your menu
Language links don't appear automatically. To let guests switch between languages:
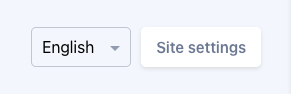
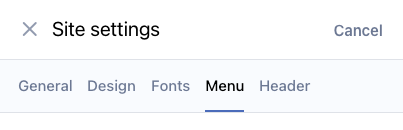
- Go to Site and open Site settings
- Click the Menu tab
- Find Display languages in menu and turn it on
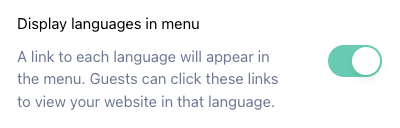
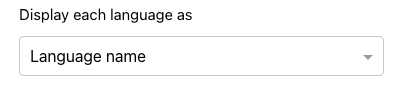
- Choose how languages are displayed (language names, codes, flags, or combinations)
- Save your changes
Language links will now appear in your navigation menu so guests can switch between languages.
Removing a language
If you don't need a language anymore:
- Go to Settings > Languages
- Find the language you want to remove
- Click the delete button
- Confirm you want to remove it
All content in that language will be deleted, so make sure you really want to remove it before confirming.
Sharing a direct link to a specific language
You can link directly to a specific language version of your website by adding ?lang= followed by the language code to the end of the URL. For example:
yourwedding.wedsites.com?lang=fropens the site in Frenchyourwedding.wedsites.com/rsvp?lang=esopens the RSVP form in Spanish
This also works with ecard links. It's a convenient way to share your site with guests who speak a specific language, or to test your translations quickly.
Note: When a guest opens a link with ?lang=, their preferred language is automatically updated to that language. See our article on viewing a translation with the ?lang parameter for more details.
Tips for multilingual sites
Start with your main language first. Get all your content written and looking good in one language before adding other languages. Everything will be duplicated and translated when you add the new language.
Personalize your translations. Auto-translations are a great starting point, but we recommend reviewing and rewriting content in your own words. This makes your site feel more personal and ensures the tone matches your wedding style. Focus especially on your welcome message and event details.
Embrace the independence. Don't feel like every language needs identical content. Use the flexibility to tailor information for each audience.
Test it out. Switch between languages yourself to make sure everything looks right. You can quickly test each language by adding ?lang= to the URL (e.g., ?lang=fr for French).
Need help?
If you're not on Pro yet and want multiple languages, check out our article on upgrading your plan.